之前发帖根据表友要求出个抛光攻略,根据自己动手能力,抛光一定要有耐心,平时不爱动手的亲就不要尝试了,我这纯属自娱自乐!多动症患者定期发病!

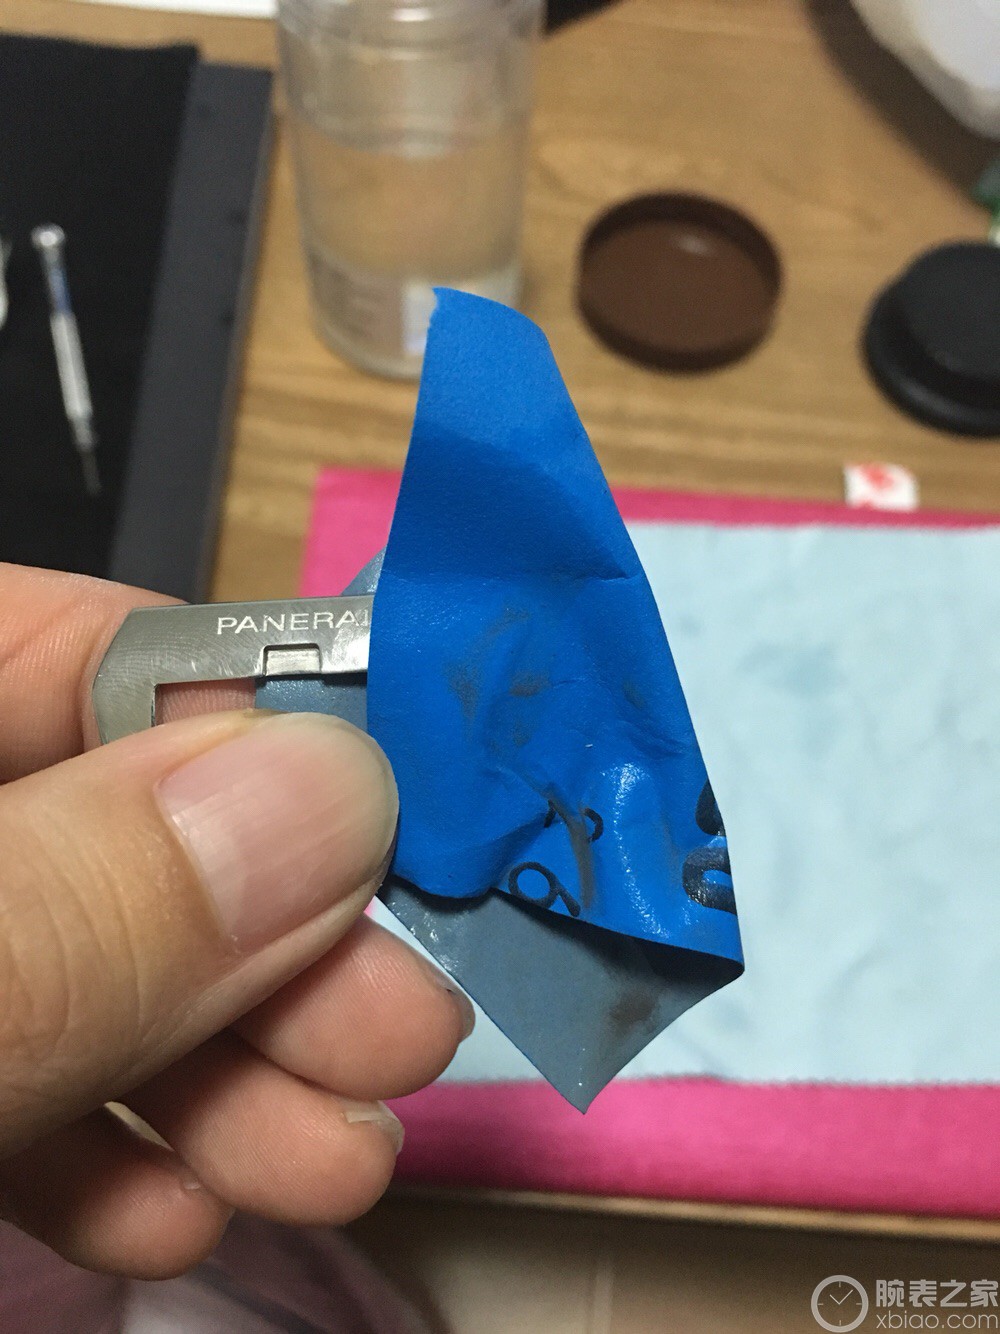
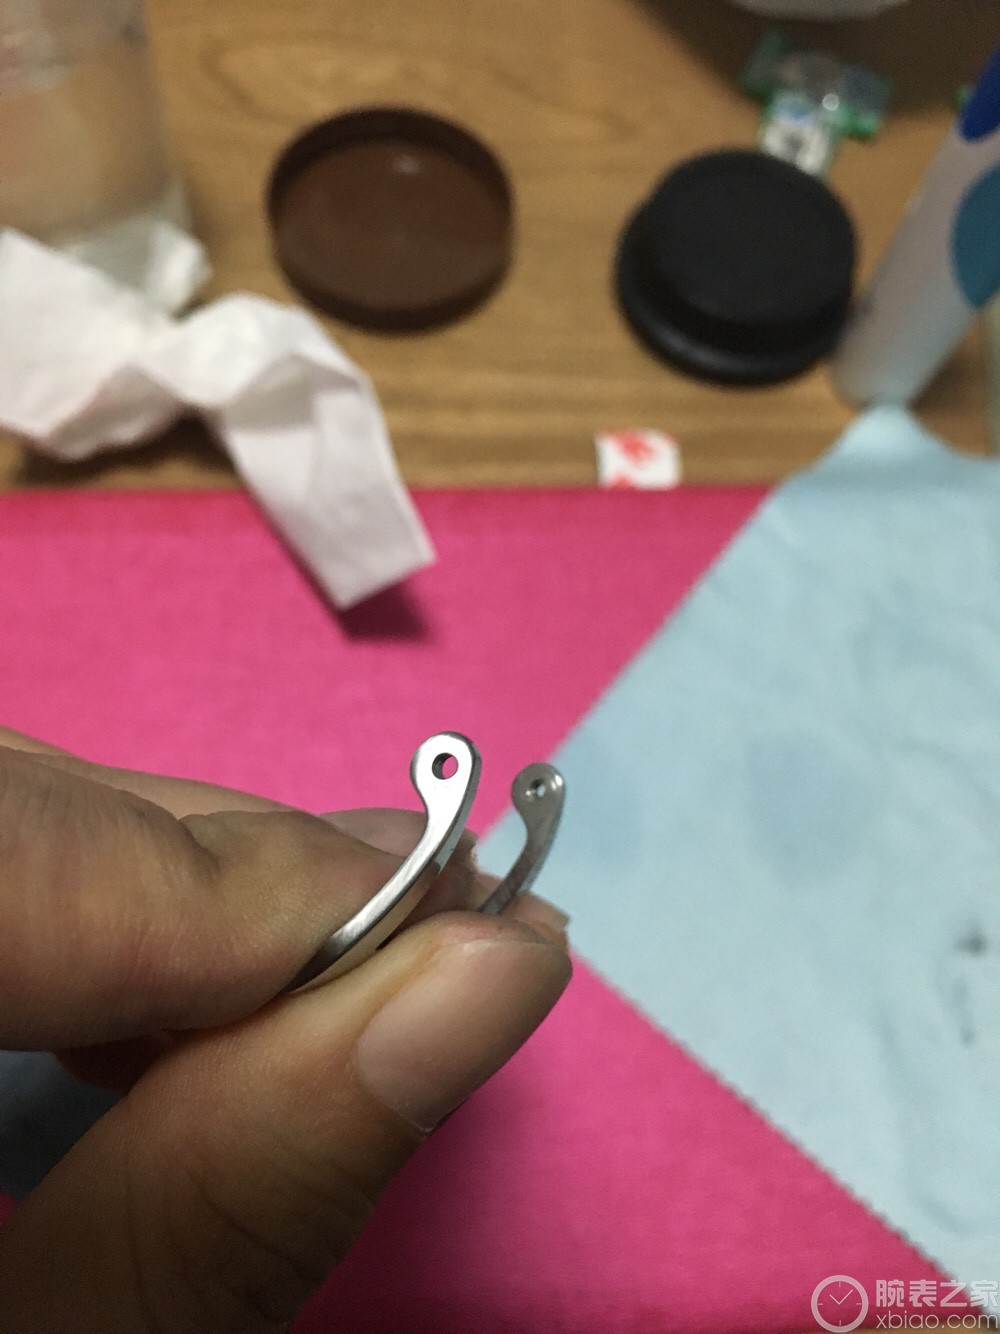
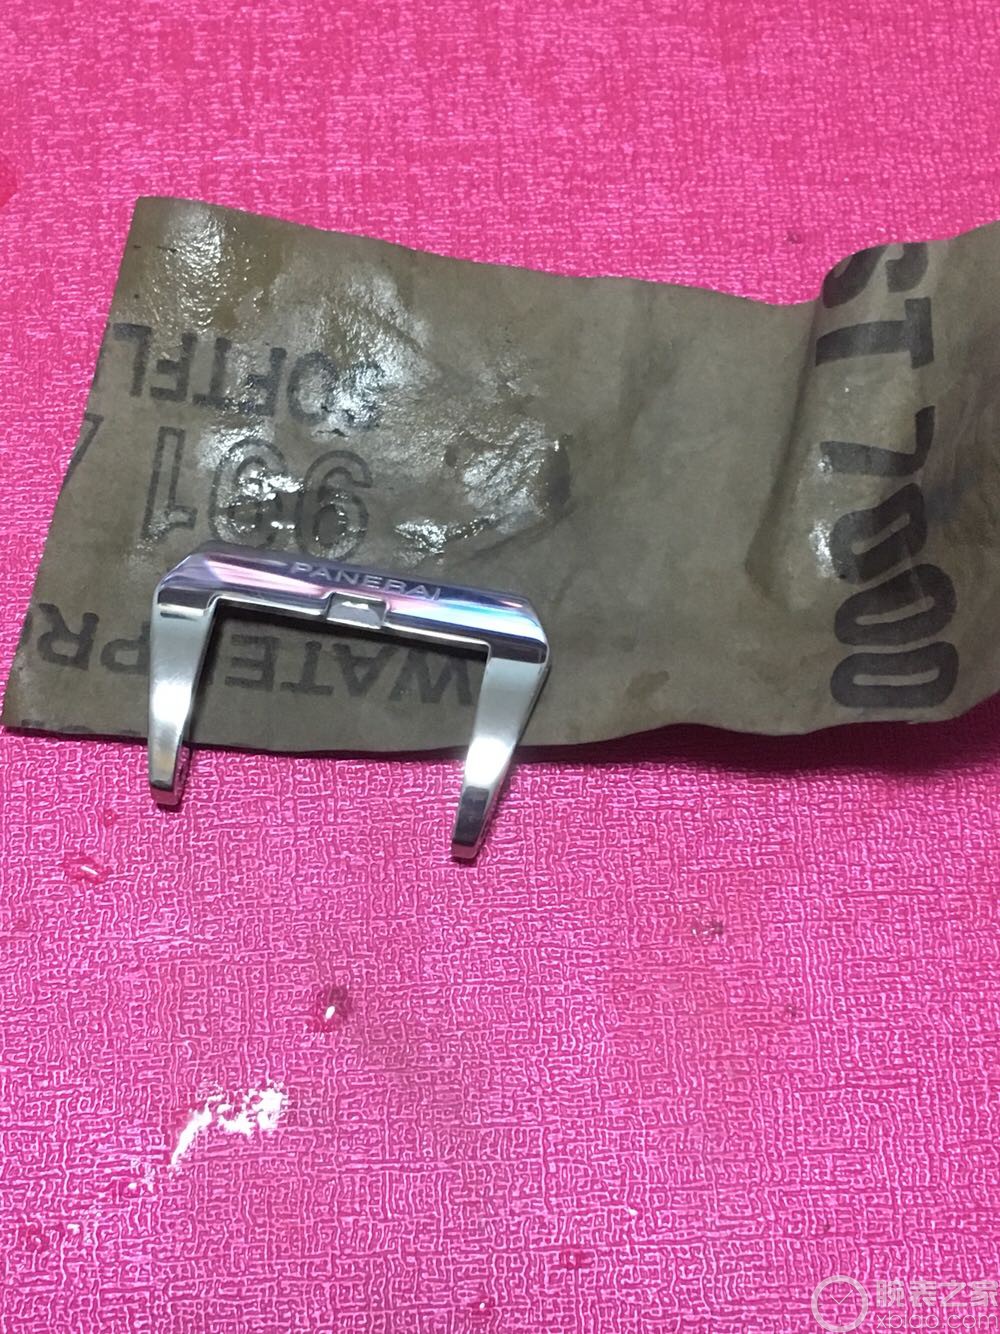
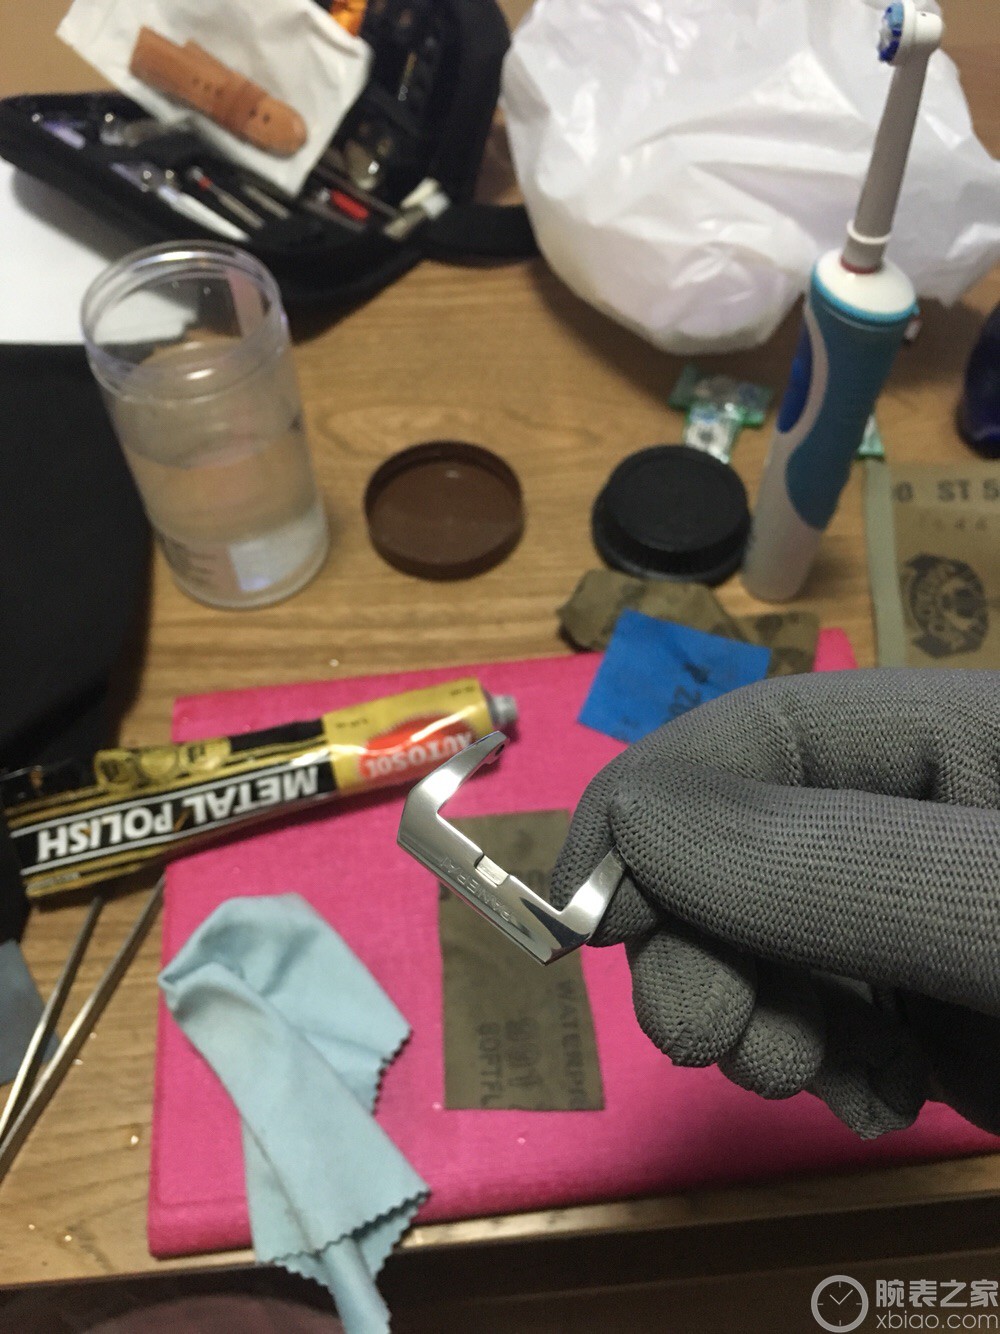
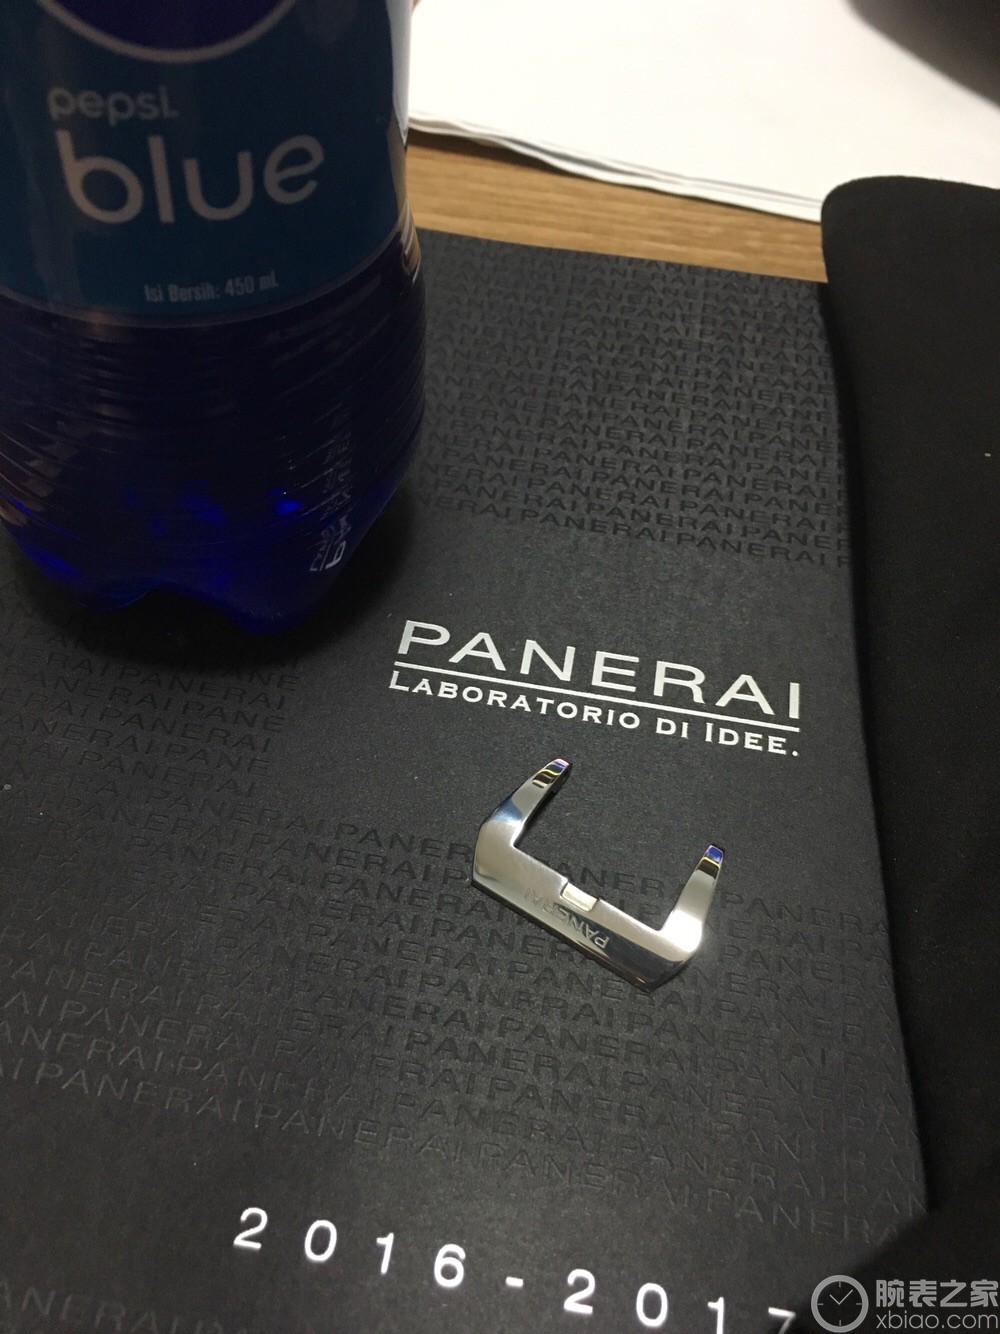
表扣磨损有点厉害!
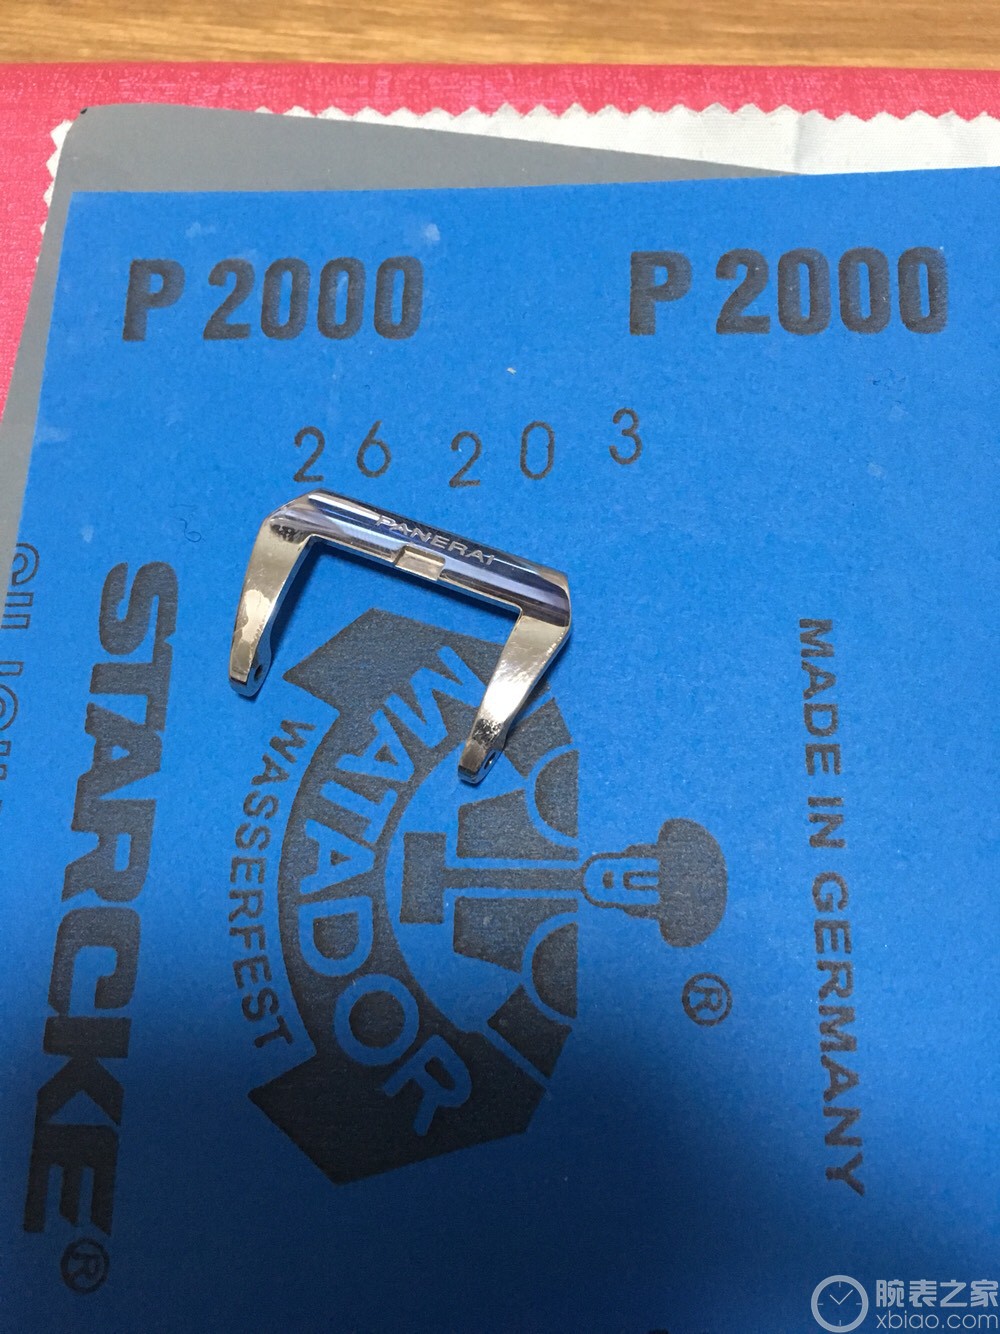
用的德国勇士的水砂纸,先用标号2000的开始!号越小摩擦力越大!一定要沾水!
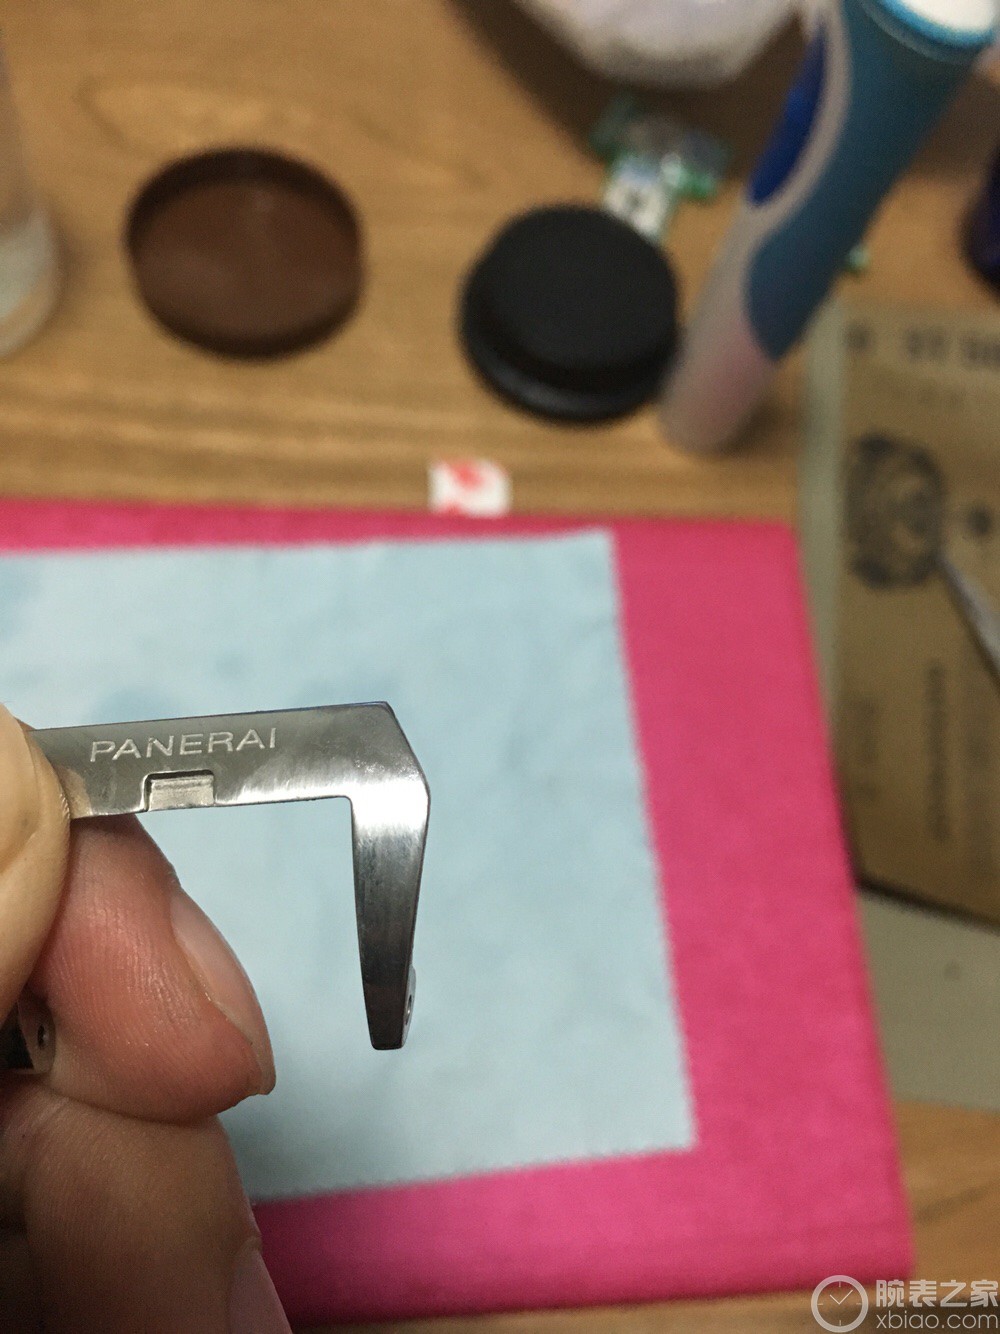
打磨了一侧后的效果!

继续打磨,大划痕浅了些!
继续打磨,可以用点力!
发划痕已经打掉了!虽然表面还有些粗,不过没关系,后面再用高标号打磨!
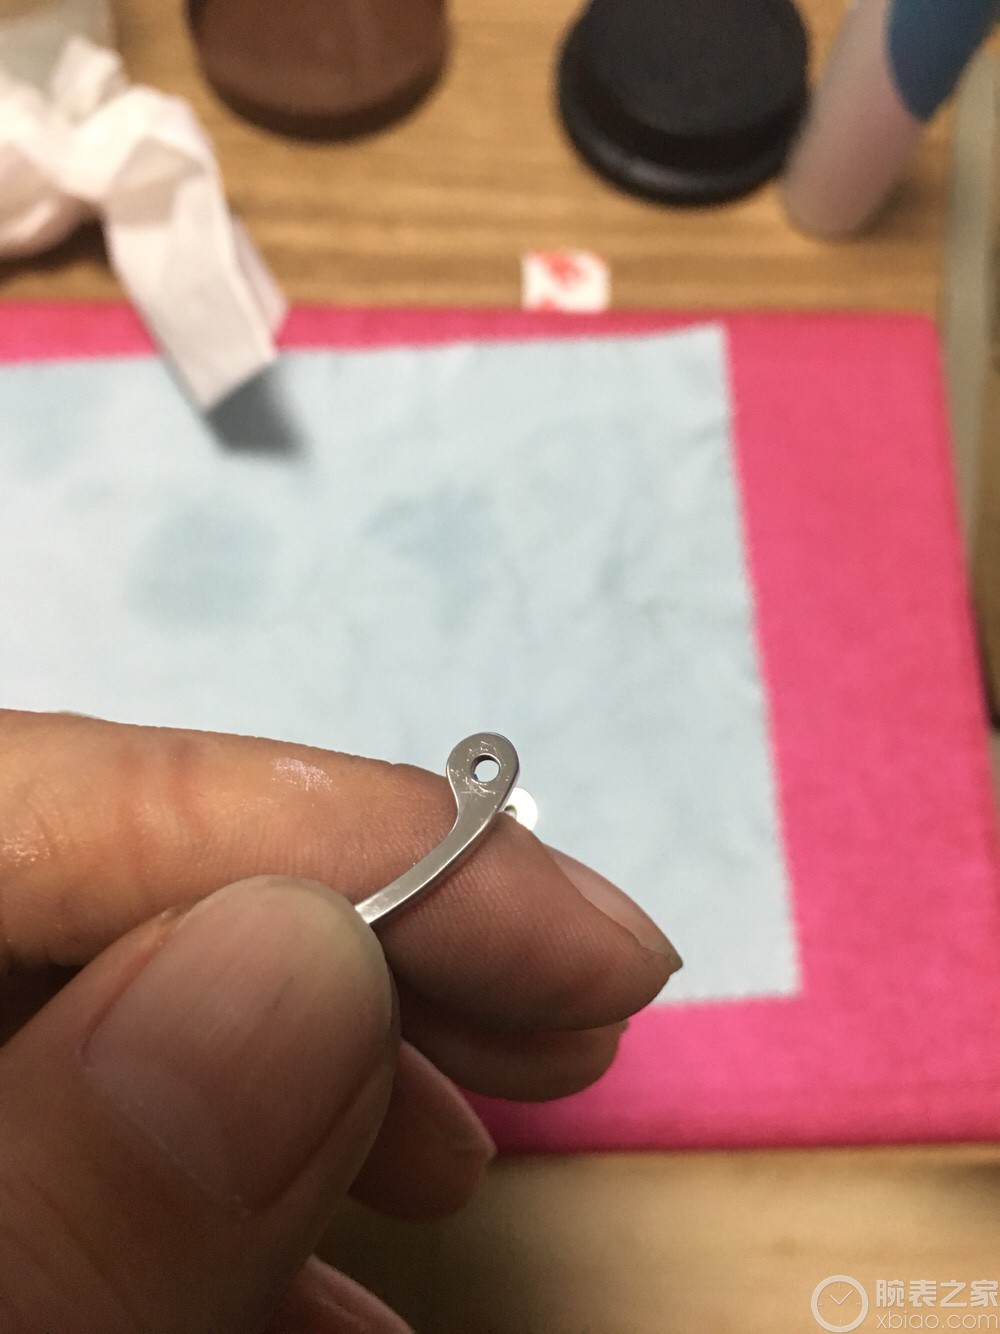
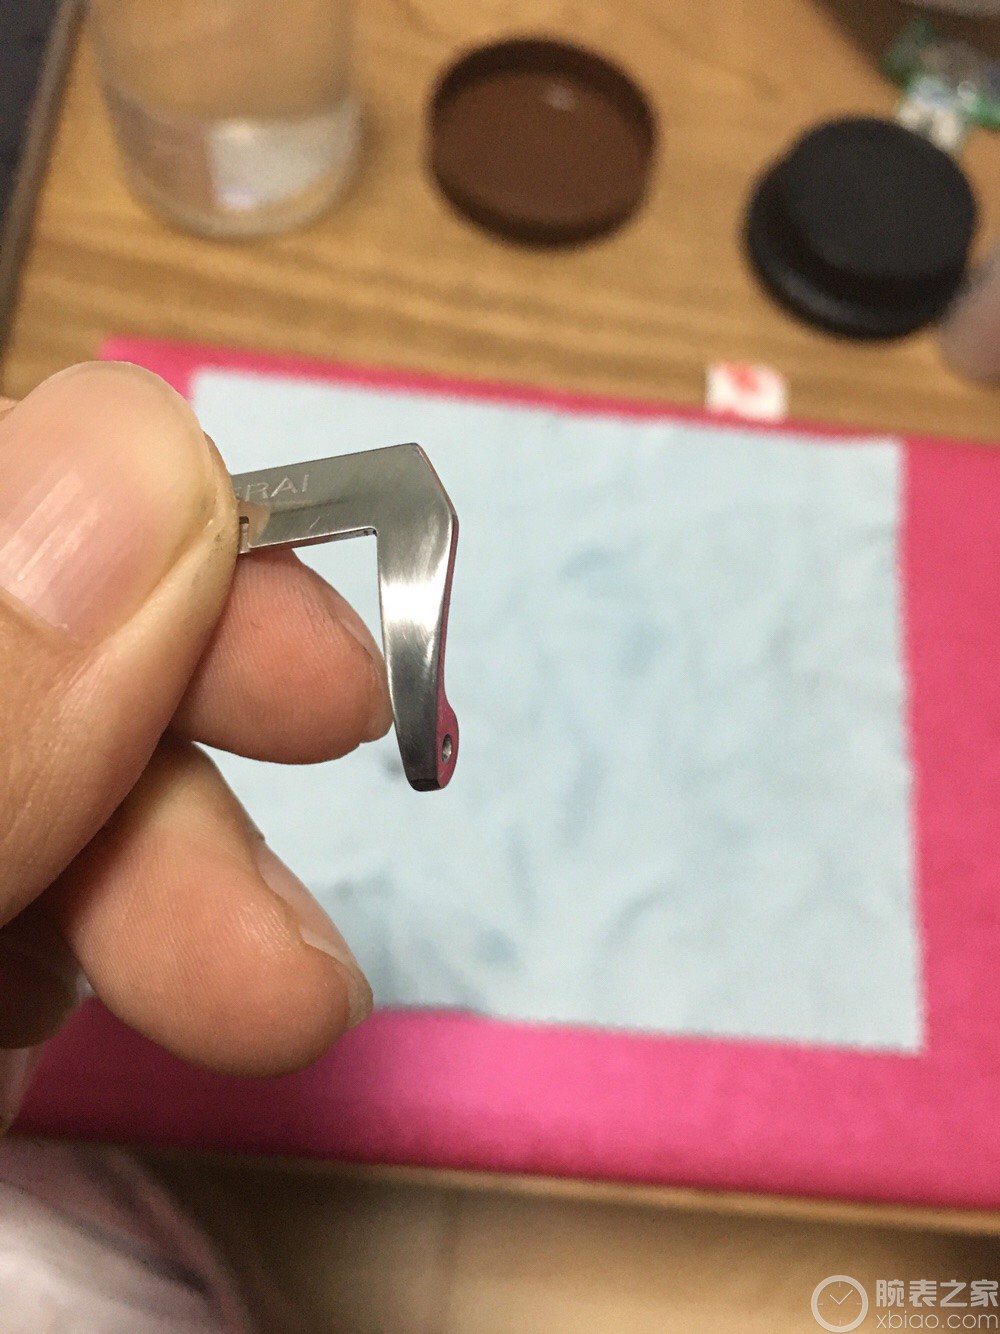
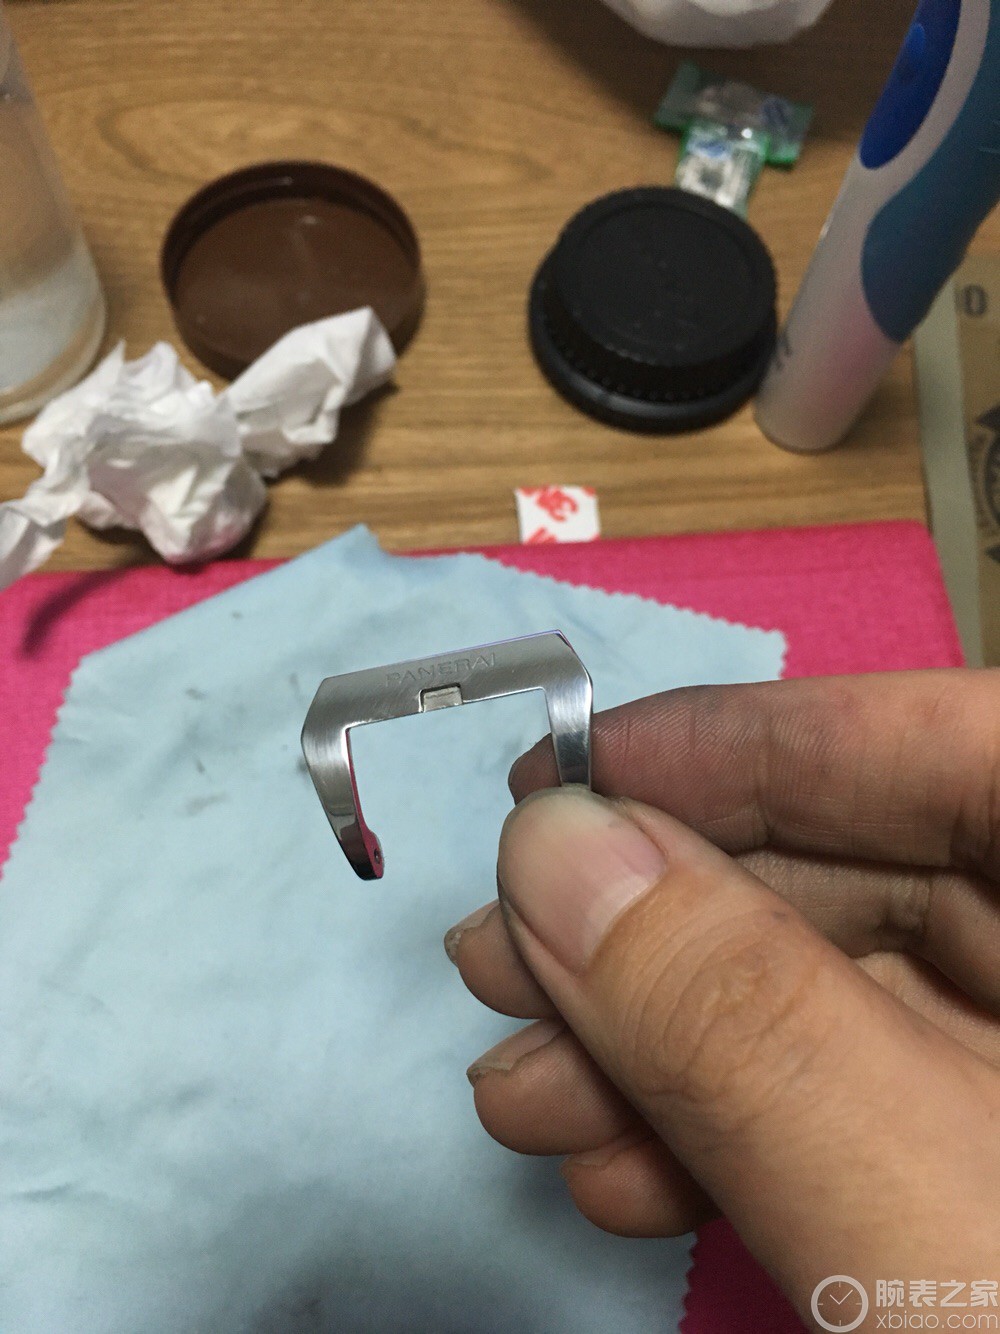
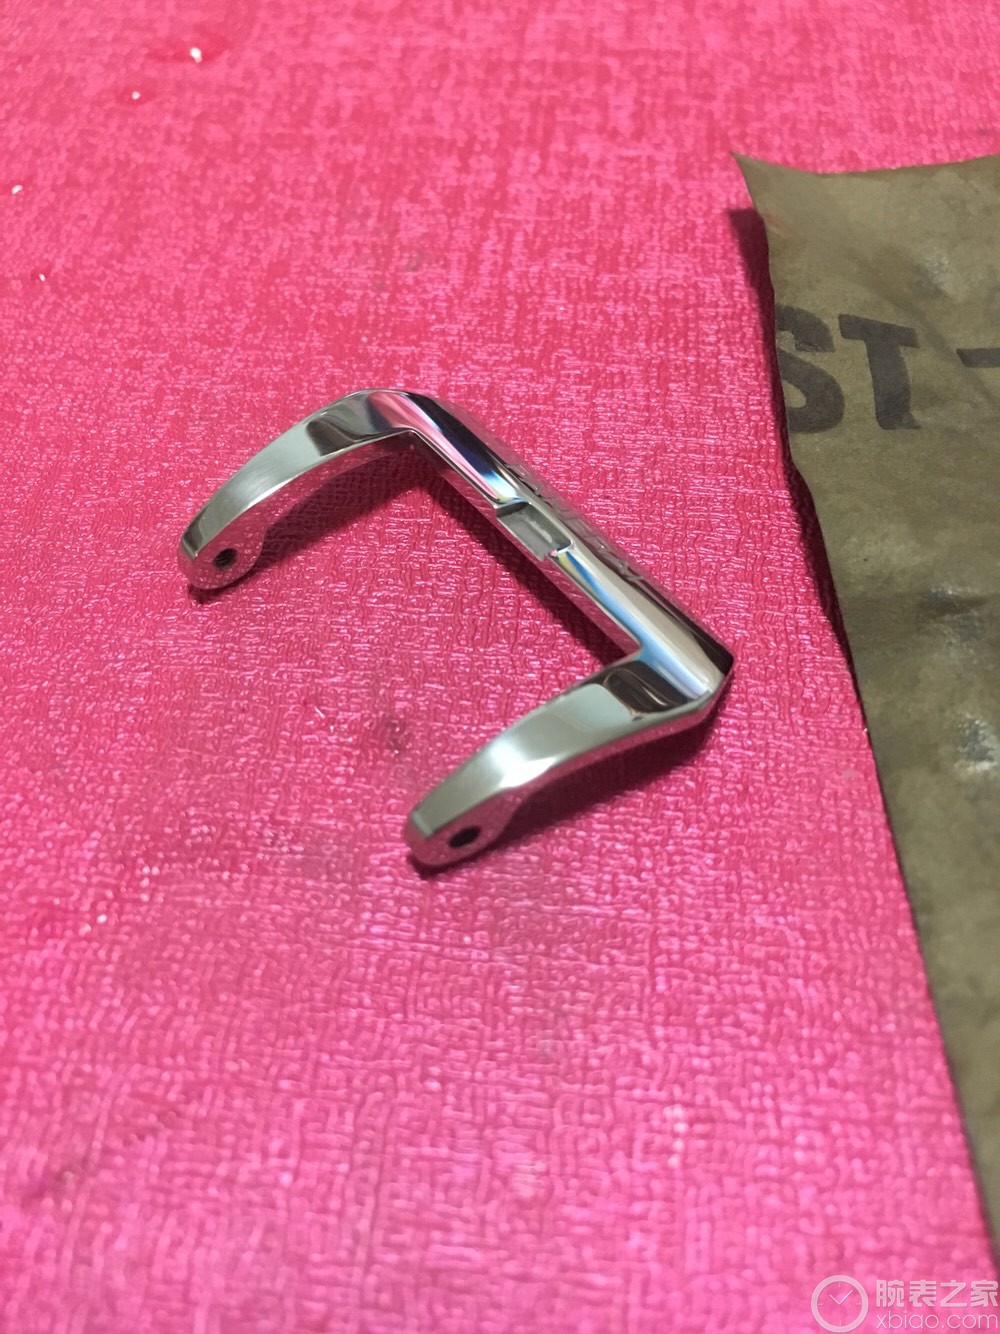
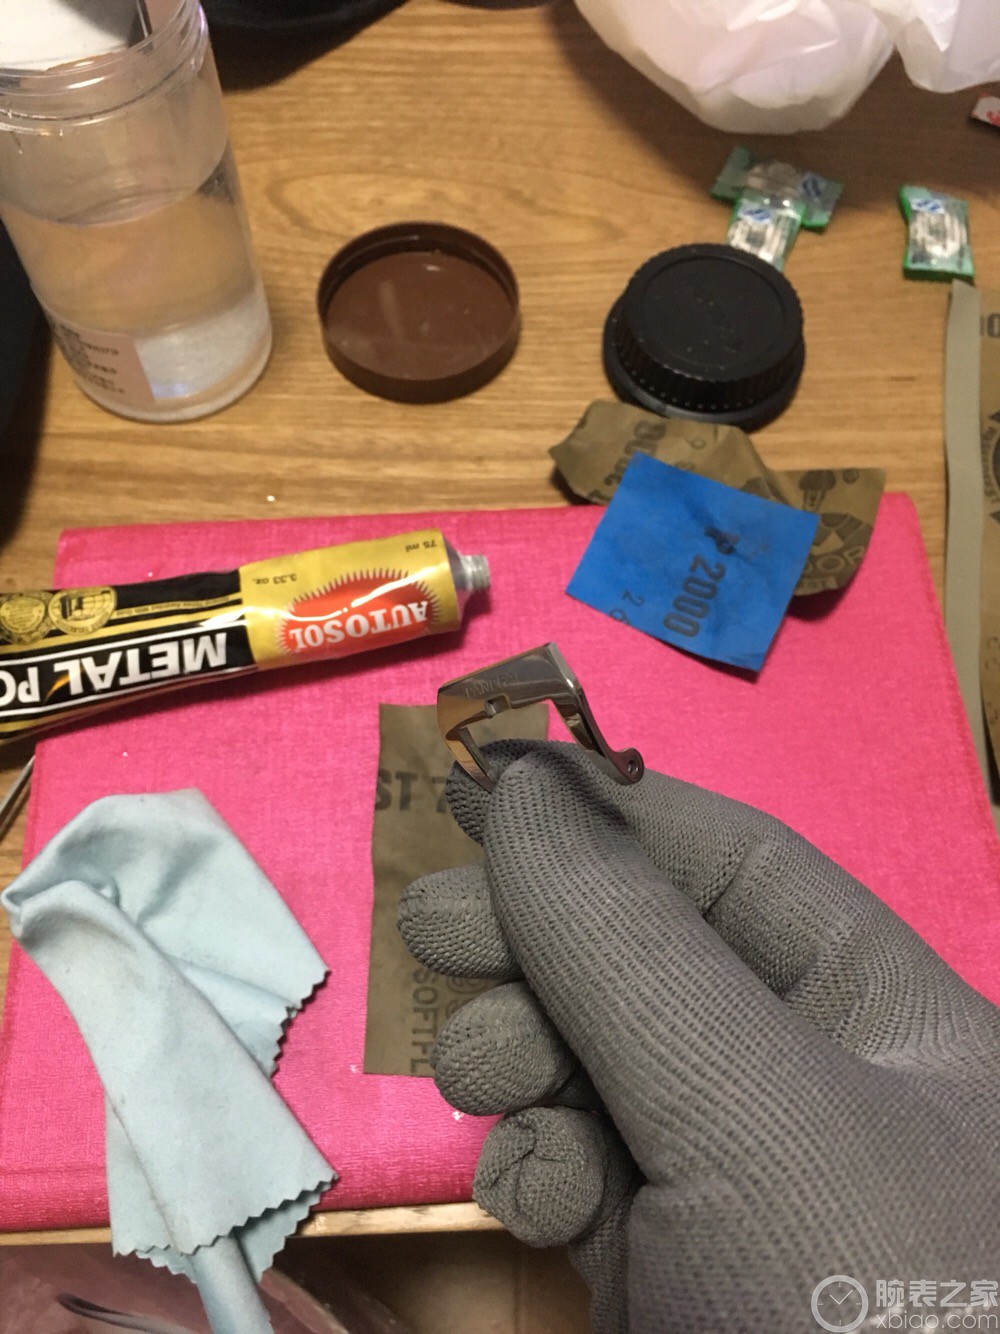
下面打磨侧面,经常换表带,这里是磨损最厉害的地方,去客服保养的时候有的无良师傅也会给你磨损这块!擦!
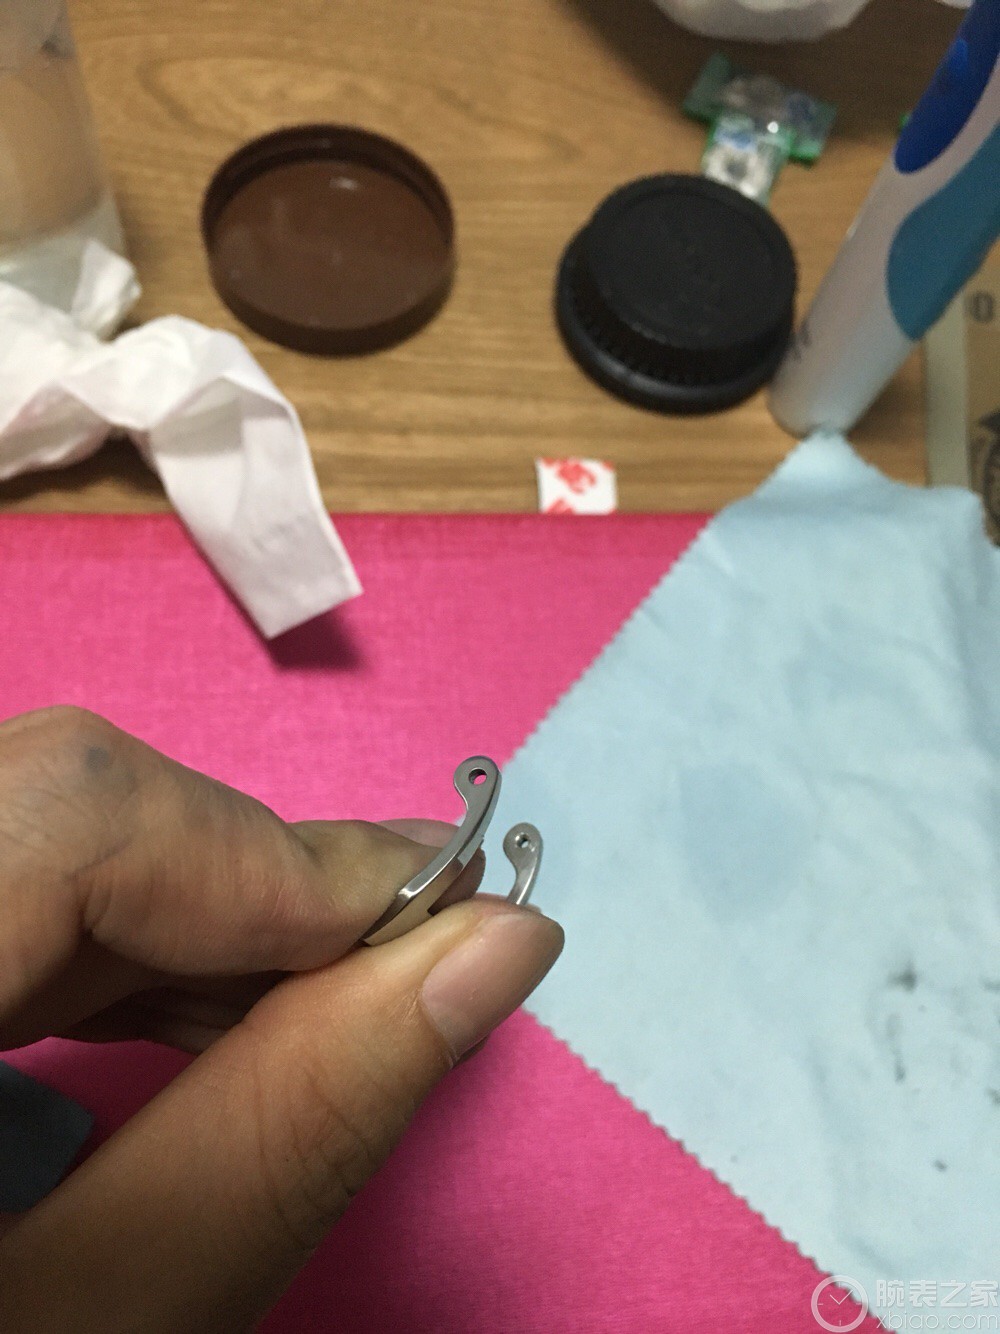
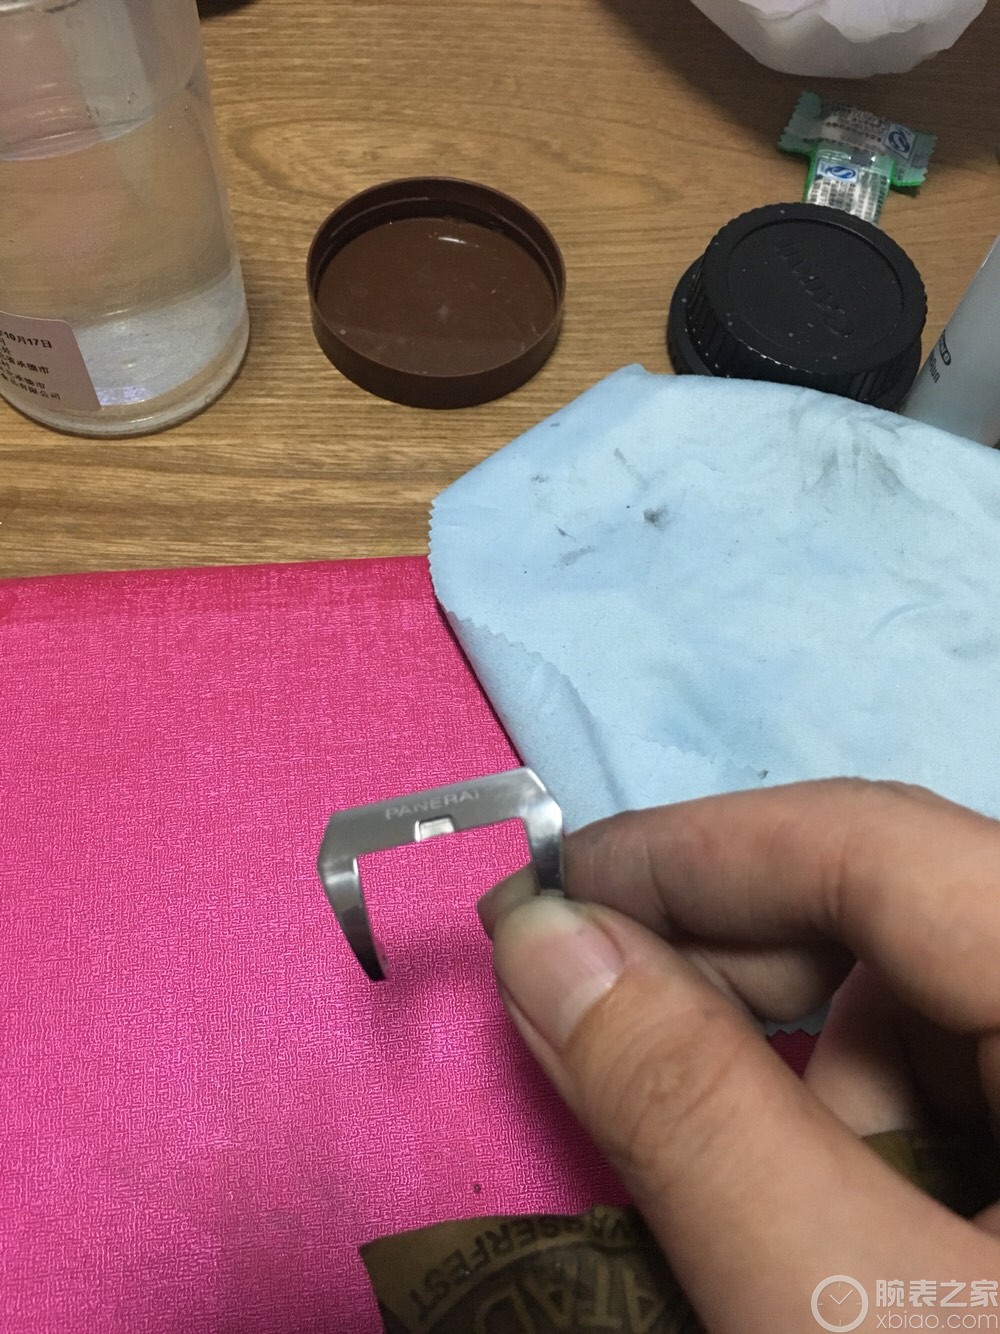
按之前的方法,这是打磨完后的效果!
换个角度!
2000砂纸全身抛光完毕!有些糙,不过没关系,这只是第一步!

开始上3000的砂纸走起!
3000完事!
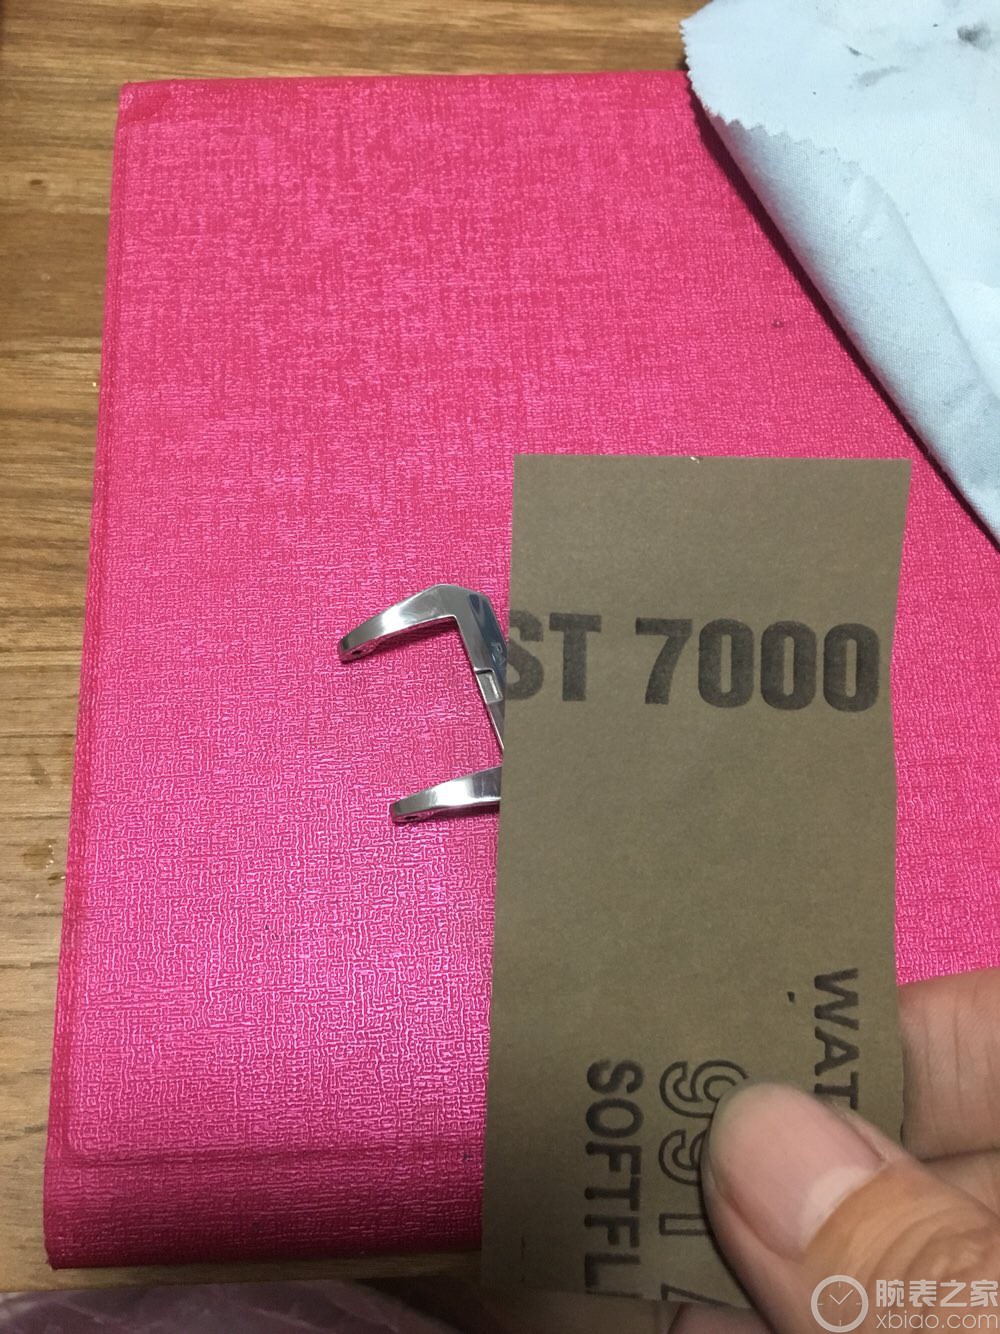
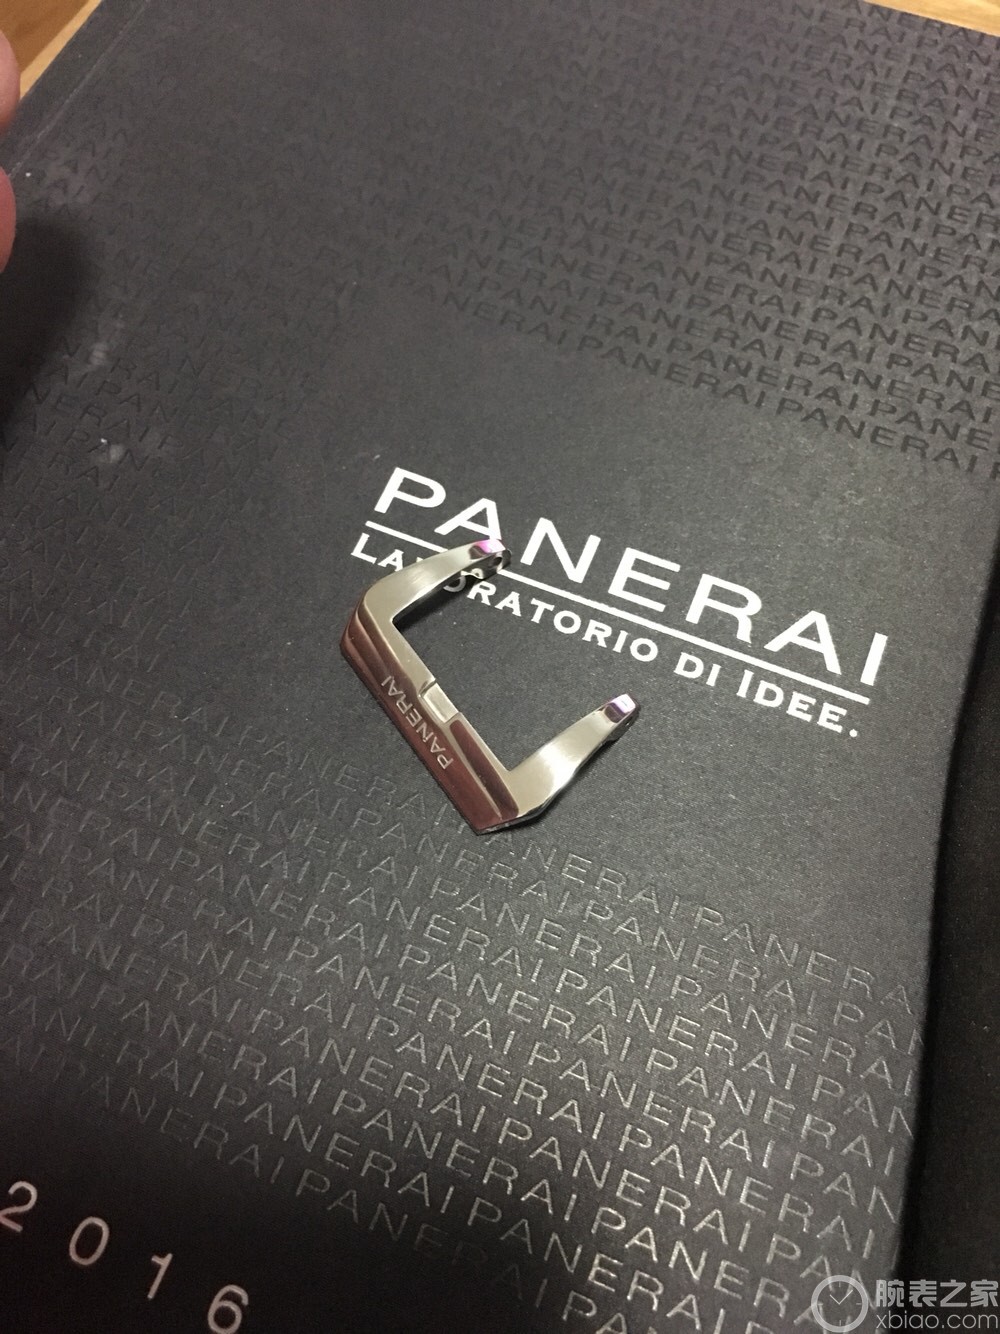
开始用7000正式抛光!时间可以长一些!直到接近镜面效果!
抛完之后的效果!

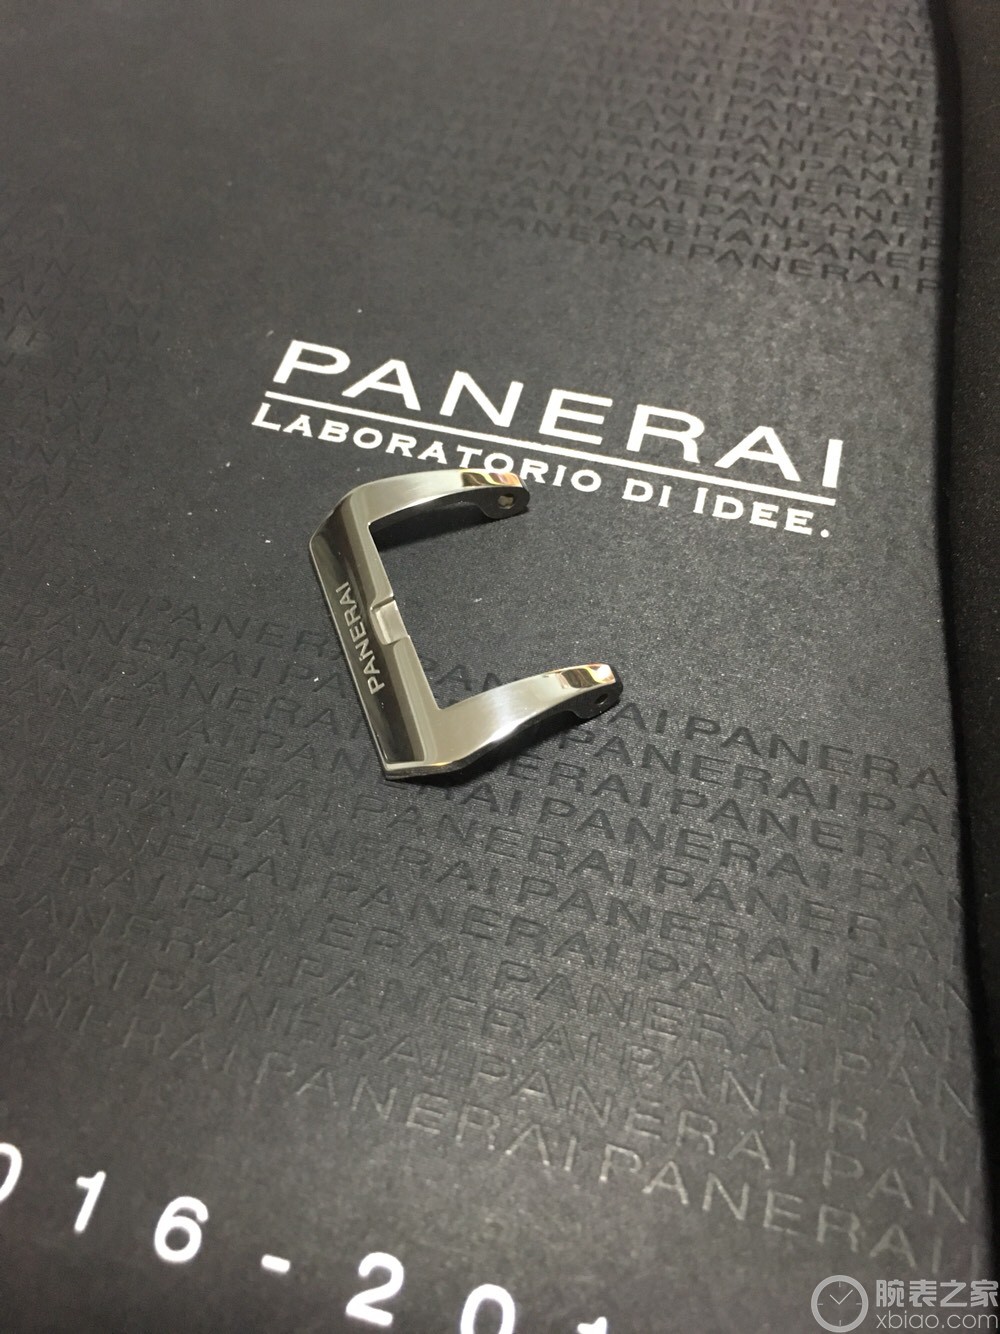
还个角度!
再来一张!基本划痕基本没有了,因为没有带手套操作,略有手印!追求完美必须带手套操作!
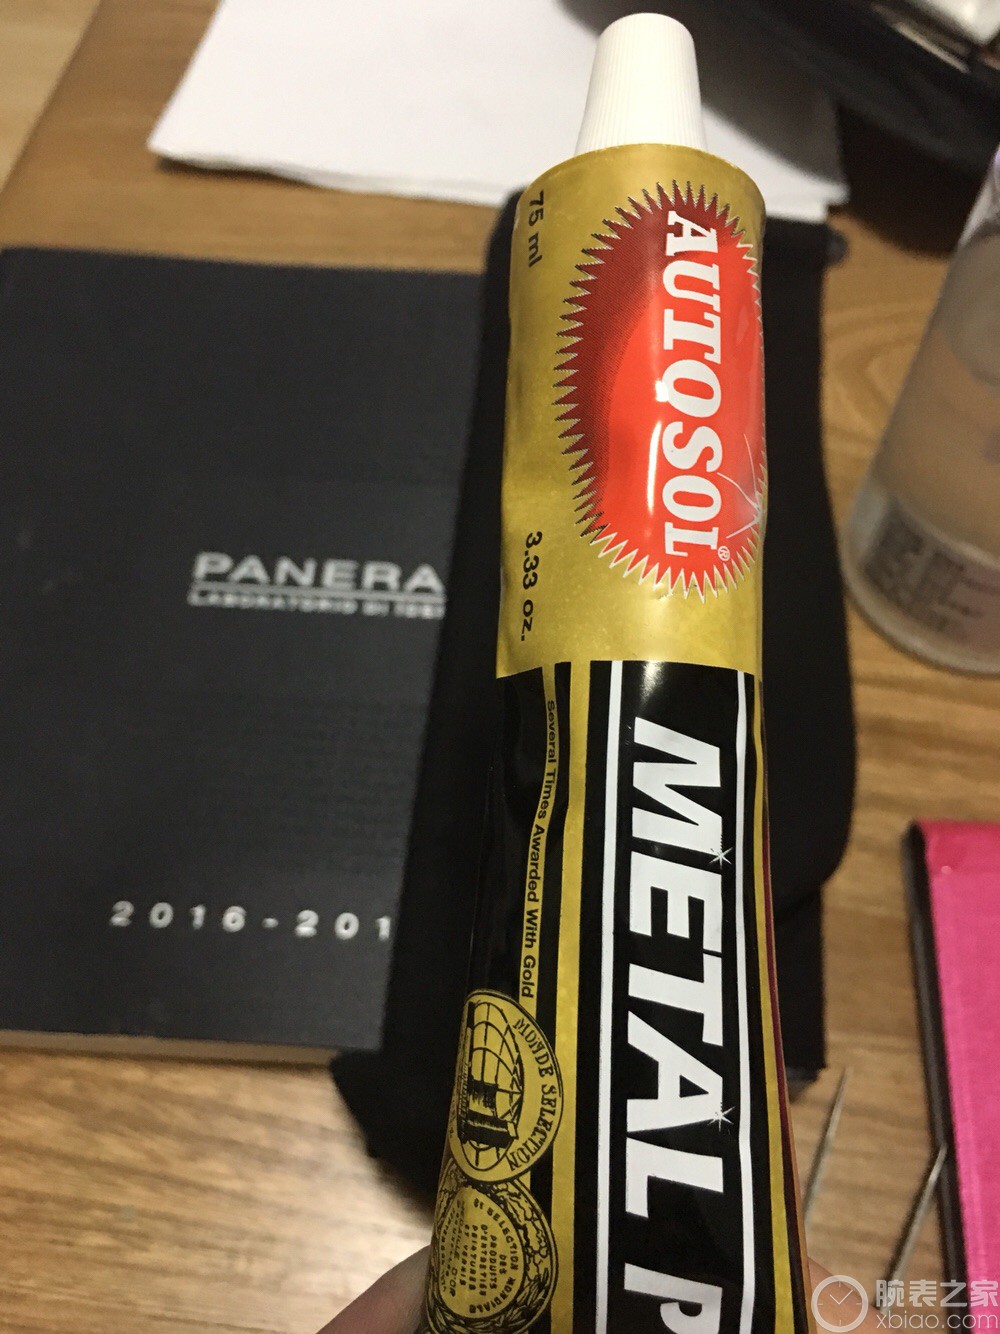
开始上抛光膏!
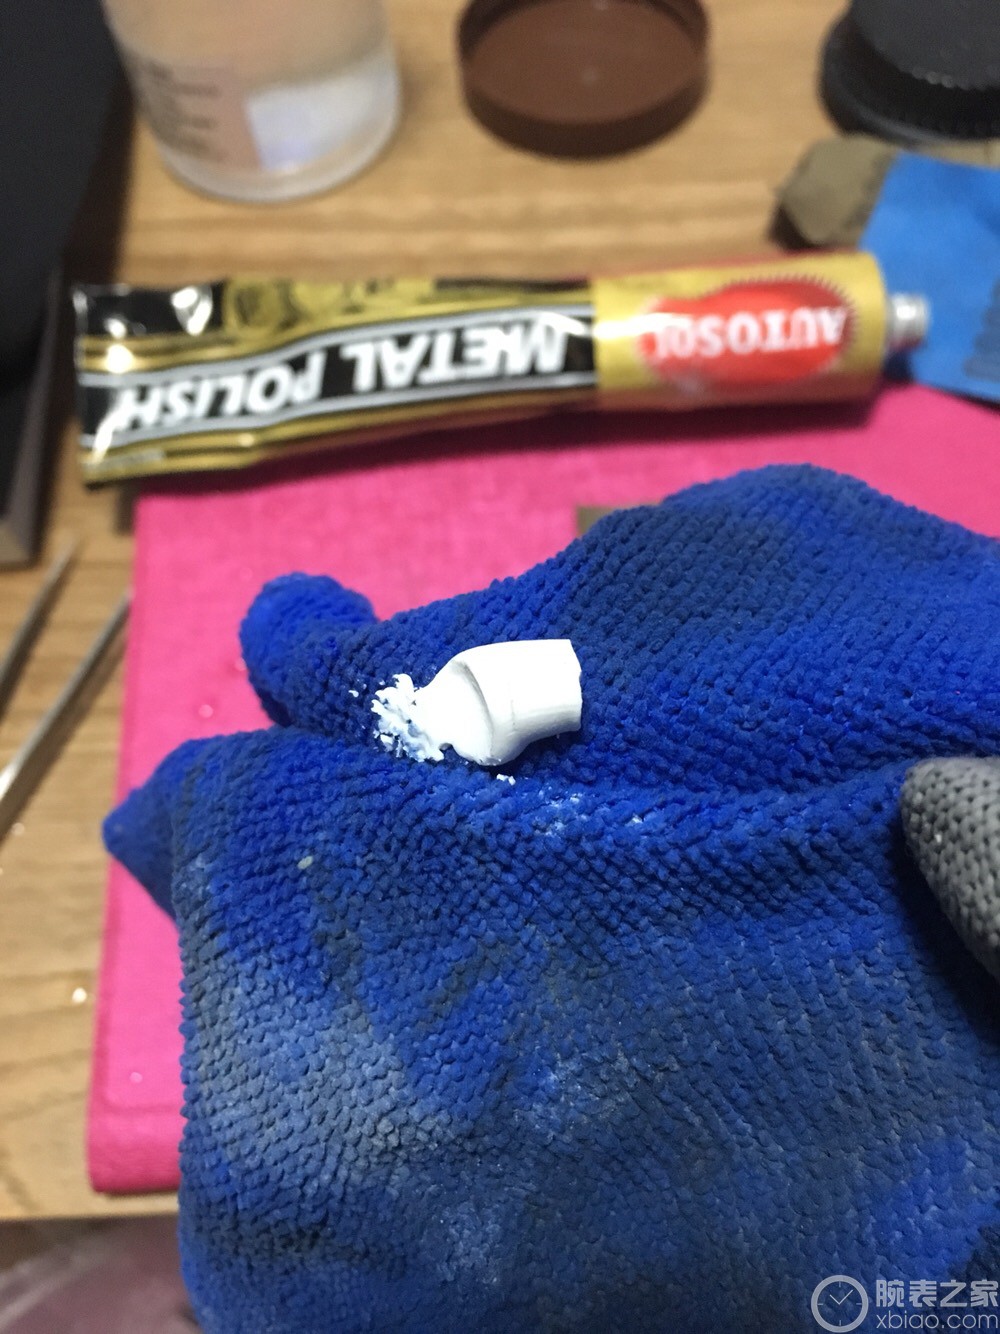
一点就够不要多!

揉搓一会!要均匀!
上完的效果!

换个角度!
再换个角度!
最终效果!

没带手套略有手印!
没带手套略有手印!

每次抛光完,手是不能要了!有时间再上个抛光表体的,有个注意点,不建议用机器抛光,因为力度不好控制,很容易抛过了,表耳拉丝的金属不能这么抛光!!